
In the Spring of 2022, Chris and I ran into a German cyclist at a riverside cafe in Basel. He was loaded down with bike bags and had cycled from Cologne. Later, in Bern, we chatted with two Swiss long-distance cyclists, and then there was a young couple we met in Galway who’d just cycled across Ireland. In Almeria, Spain, I talked with a fellow from France… he was on a year-long ride around Europe. These conversations started to coalesce.
I later found out that there are well-developed Eurovelo bike trails throughout Europe and that one of them, Eurovelo 15, follows the Rhine from the Alps to The North Sea. Then last summer, when I began planning to wind down Driftwood Kayak, I started to think about doing Eurovelo 15 myself, solo and unsupported. It would be a good way to really recover from the isolation of COVID. Suddenly, the idea had taken off.
Initially the plan was to take my Cannondale mountain bike on the ride but Chris persuaded me to get a new touring bike. Touring bikes were hard to source last year due to supply chain holdups, but eventually I did find one. With the help of the folks at Riverside Cycle, I spent a lot of time researching and acquiring bike gear, biking clothes, etc. As a novice cyclist, I wasn’t convinced I could do such a long ride. So I started to focus on training.
The months since then have flown by and it’s just a week or so or before I leave for Switzerland. Two weeks ago, Eli at Riverside Cycle took the bike apart and boxed it, BikeFlights picked it up on time and, magically, the box showed up at Walti’s Schoch’s bikeshop in Basel a week later for rebuilding, just one day behind schedule. Whew….relief! The bike has made it!
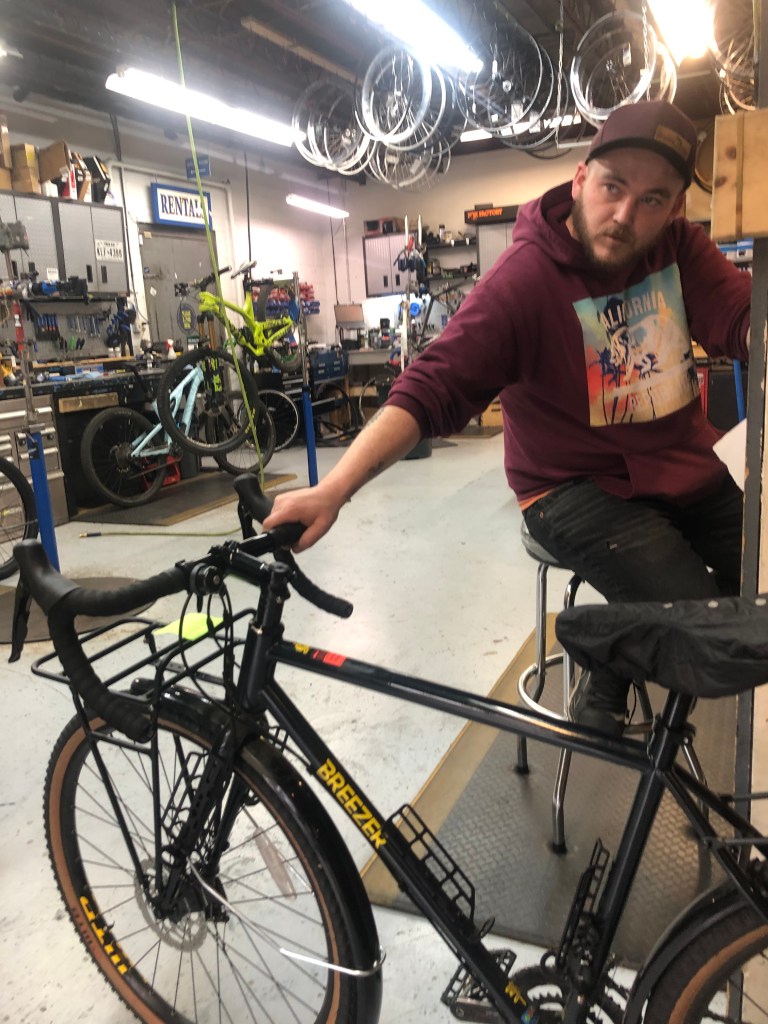
Eli at Riverside Cycle getting ready to box the bike
Here follows a breakdown of the steps I went through for the first ride…there was gear for myself, as well as parts for the bike, to be bought. Clothing – all synthetic or smart wool, a set of clothes to wear and a second change of clothes. Also a set of street clothes for when not cycling. The three-layer system on top (wicking smart wool, fleece, insulating synthetic) and padded bike shorts. Gore-Tex jacket and pants in case of rain. Cap and gloves, waterproof, clipless bike shoes. All other personal effects carried in 4 small bags by function – electronics, medical, toiletries, tools.
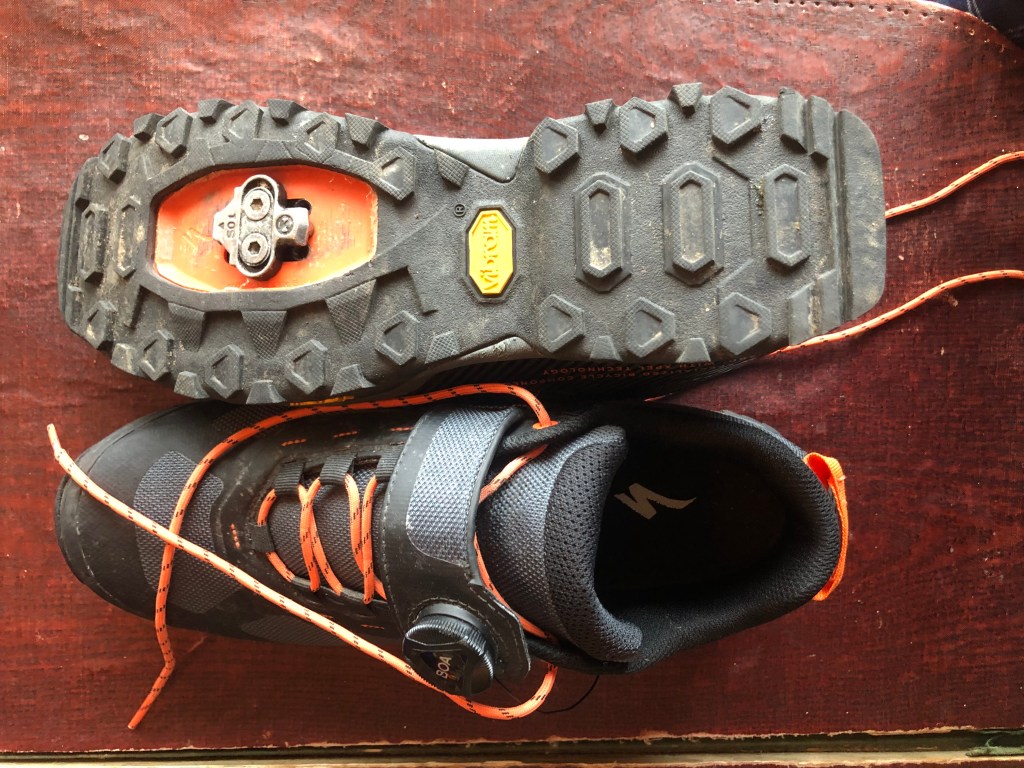
Clipless Bike Shoes (showing recessed cleat)
Aforementioned clipless cycling shoes are quite amazing. Rather than simply keeping your foot on the pedal which was mostly what traditional toe clips used to do, clipless are cleated to the pedal which allows for a muscle driven up-stroke. Because you’re using different muscle sets on the upstroke and downstroke, it’s almost like having another set of gears in your back pocket which gives you a fantastic boost when starting from stop and when pedaling uphill. Mine have recessed cleats with flexible soles so that you can also walk around fairly well. Made by Rimes, they are waterproof – it seems most cycling shoes aren’t…
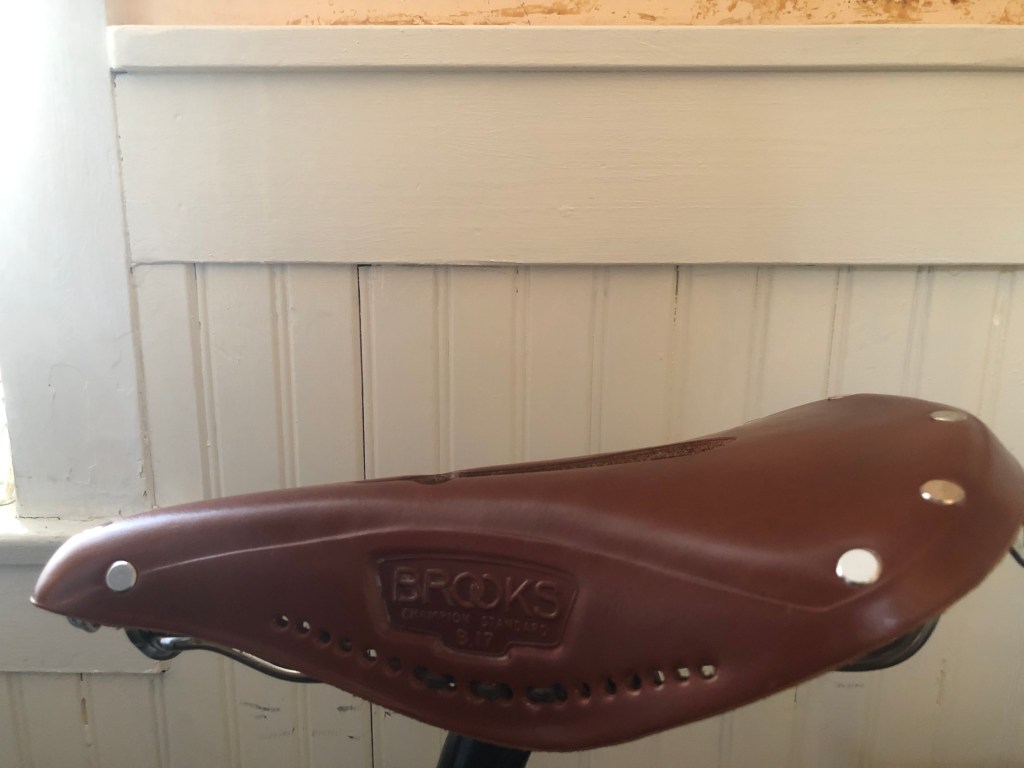
Brooks Saddle. Old fashioned but still the best.
Another piece of gear which is worth mentioning, and which I already have brought up in an earlier post, is the saddle. Bikes come with basic saddles that are almost always replaced for a more comfortable one or one that is more ‘active’. For long distance touring, comfort is the goal, so I replaced my Volt saddle, which came with the bike, with a terrific genuine leather Brooks saddle. Made as they were more than 100 years ago, Brooks bike saddles should be treated periodically with Brooks’ high priced saddle cream which, according to legend, means that the saddle eventually conforms to your one-of-a-kind anatomy. Whether that is true or not I don’t know. But for my money, Brooks saddles live up to their reputation for comfort and more.
Voile straps, originally designed for transporting skis, are great for securing water bottles and other non-bagged gear. Water bottle racks come in all flavors, I settled on Widefoot Cargo Mounts which can be used for water bottles and are also handy for securing small stuff bags.
For bike bags to carry gear, I have two Ortlieb rear pannier bags and one Surley Porteur bag for the front rack as well as a small Ortlieb bag for tools that Ortlieb calls a Cockpit Bag. Ortliebs are waterproof and rugged. Ortlieb panniers have nifty spring loaded clips on the back which securely attach the pannier to the rack. Simply lifting the bag disengages the clips. The Surley bag in front also has secure clip attachment points. Nice safety features.
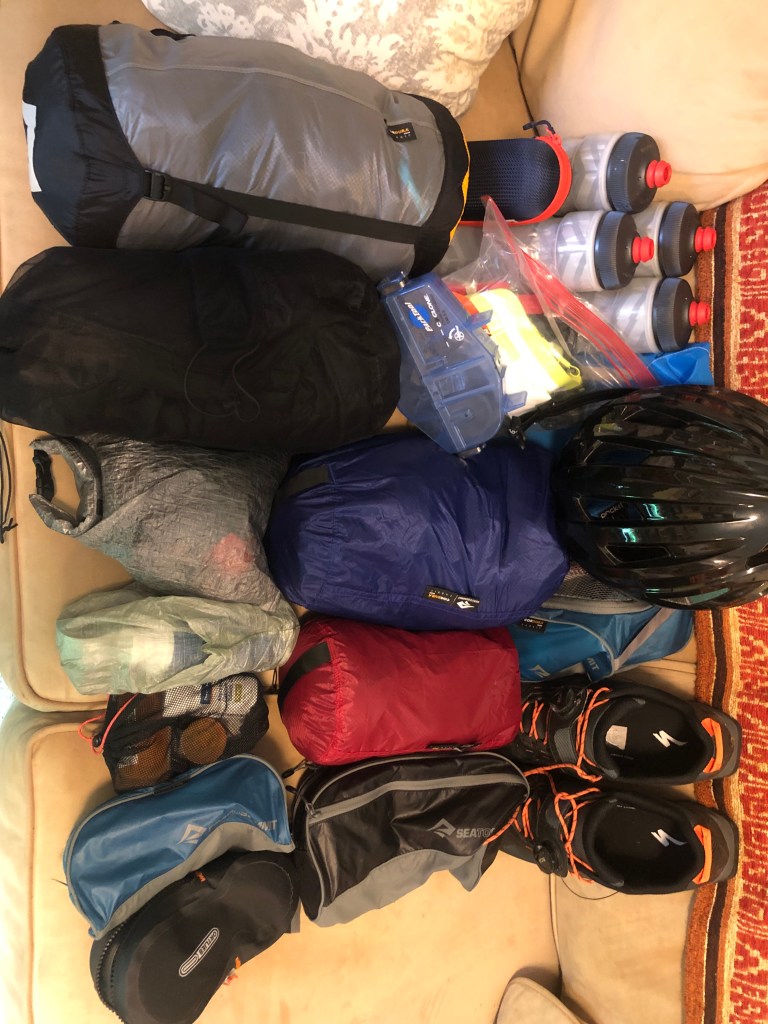
Profusion of ‘Sea to Summit’ bags.
All the carried gear is in small bags, most of which come from ‘Sea to Summit’, for many years one of my favorite outfitters. As I say goodbye to ‘Driftwood Kayak’ and Maine waters for the Swiss Alps, the symbolism of using predominantly ‘Sea to Summit’ bags is not lost on me 😉
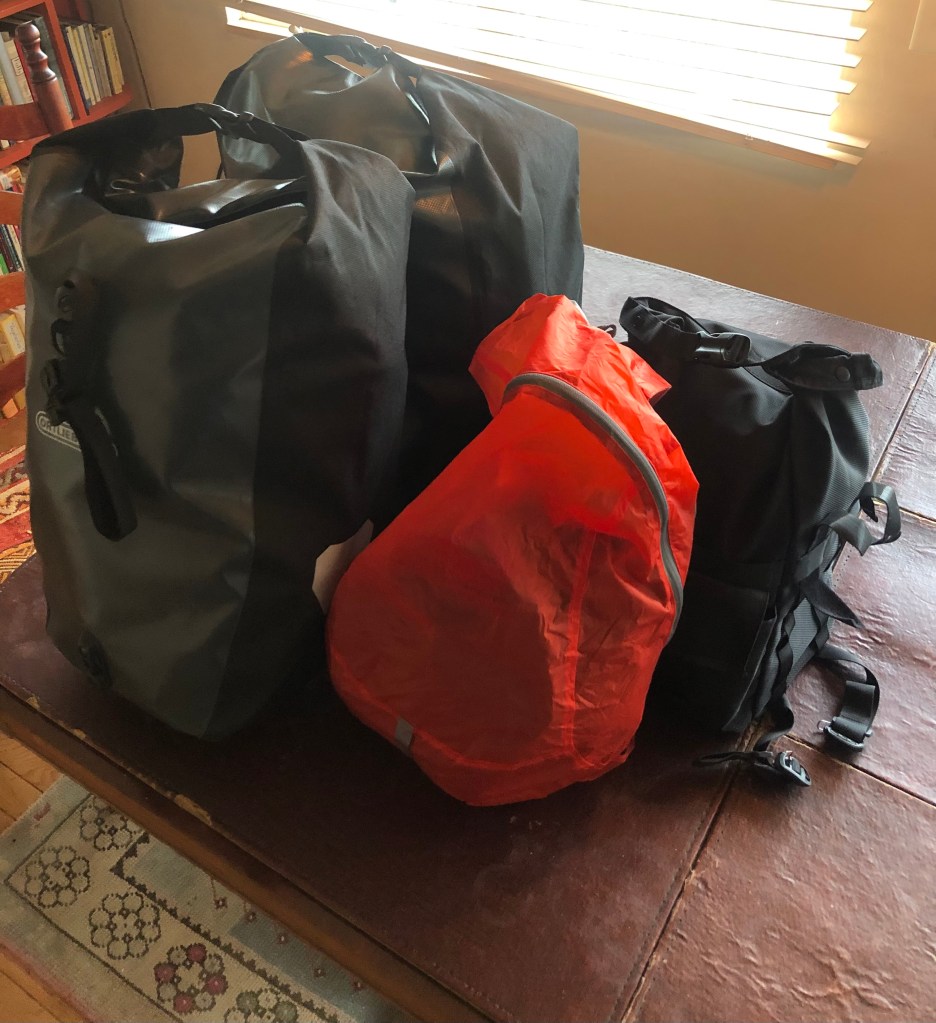
Bike Bags. Everything fits. Just!
Early on, when I first had the idea of cycling Eurovelo 15 I intended to train for the ride by simply putting in the cycling miles. On the flat, up and down hills, whatever the terrain had to offer. In practice this mean’t 10-mile rides around Cape Ann with the occasional trip out to Ipswich and back, a round-trip of 30 miles or so.
Traffic conditions on local roads here are almost lethal – I’d venture to say ‘ultimately lethal’. One morning, after my usual East Gloucester loop, I was overtaken by an Amazon van on a sharp right hand turn as he cut the corner with his rear wheels. At that moment, I looked down and saw that I had about 4 inches of road for my one and a half inch front wheel to get through!! Time stopped still. I was literally inches away from being pushed over by the van traveling at speed! There and then, I decided that cycling on these kinds of town roads was just too hazardous.
Also the problem with this kind of training is that you have no idea if you are improving. I assumed that a measure of my progress would be that I would get faster and be able to go further with time. But it seemed to be very much a hit or miss affair.
Some weeks later I met up with a former colleague at Vertex, Scott Carrier, who was also a triathlon coach as well as a highly-ranked triathlon competitor himself. Scott recommended I train according to the methods of Dr Philip Maffetone. (What, me, triathlon? I don’t think so!!). Scott mentioned the importance of training in ‘Zone 2’ to build endurance. That sounded interesting to me.
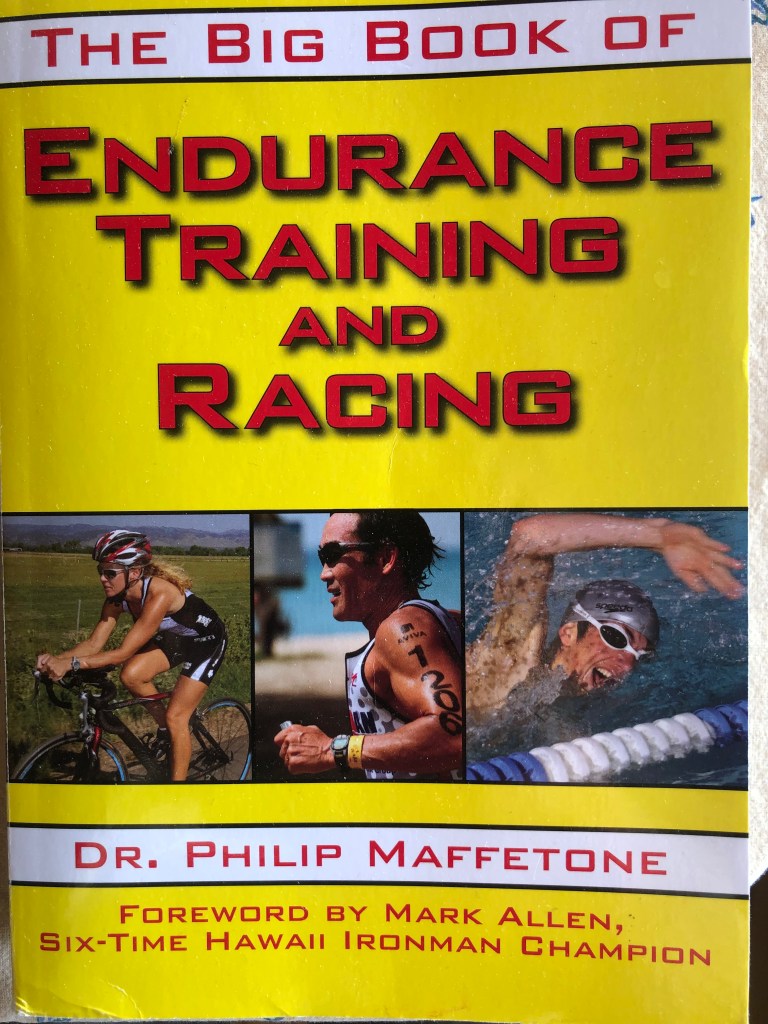
First, some background…I discovered from Maffetone’s book that in the 70s and 80s US athletes in endurance sports were not doing at all well internationally and that it was their hard training technique – no pain, no gain – that was at fault. They discovered that training at lower levels of energy consumption was more effective and led to better results. Maffetone fine-tuned this concept and he soon became one of the most sought-after endurance coaches in the US.
Though I have some background in biochemistry I didn’t fully appreciate that you use different energy sources at different levels of intensity training. Without getting too technical, Maffetone championed the idea of training for endurance at your maximum aerobic training heart rate. Maximum aerobic training heart rate is calculated from a formula that incorporates your age and physical state so that you are training at a heart rate that is tailored for your metabolism. This is at a training rate which is far lower than you’d expect. Maffetone had tweaked the formula and he achieved far better results.
I was skeptical about this working for a ’non-athlete’, that is, me! But over the past 6 months I’ve seen my heart rate during cycling come down significantly. Bottom line is that I can now cycle more efficiently with far less effort. And as I mentioned in an earlier post, I’m also no longer riding in traffic and instead drive the 40 minutes or so with the bike to the Minuteman Bikeway. Much safer!
The Minuteman Bikeway has been my training route this Spring since snow and ice mostly disappeared from bike trails. Twenty miles round trip starting from the site of the original Bedford Depot, the trail follows the route of the train track from Bedford through Lexington to the Alewife subway station in Arlington. I do three rides a week. Once a week I ride part of the trail a second time for a thirty mile ride and I’ll soon be extending the weekly ‘long ride’ to forty miles. You can see the emblem of the Trail is a silhouette of a latter-day Paul Revere. Instead of a galloping horse, young Paul pedals a bike!!
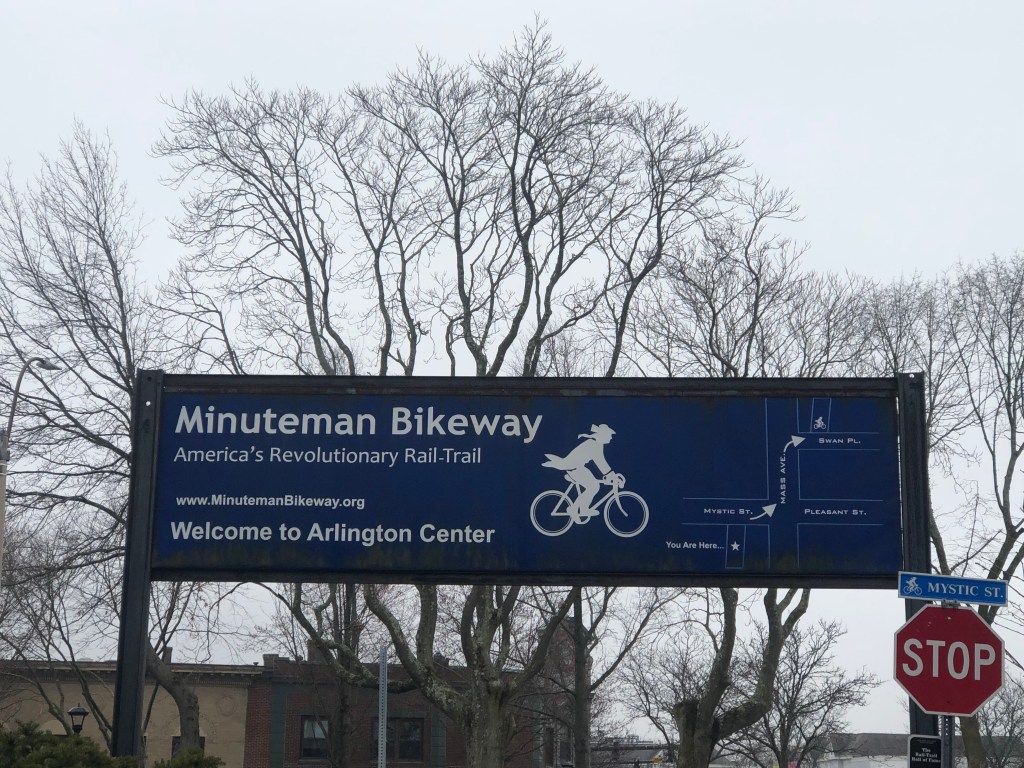
The Bedford to Arlington Bikeway
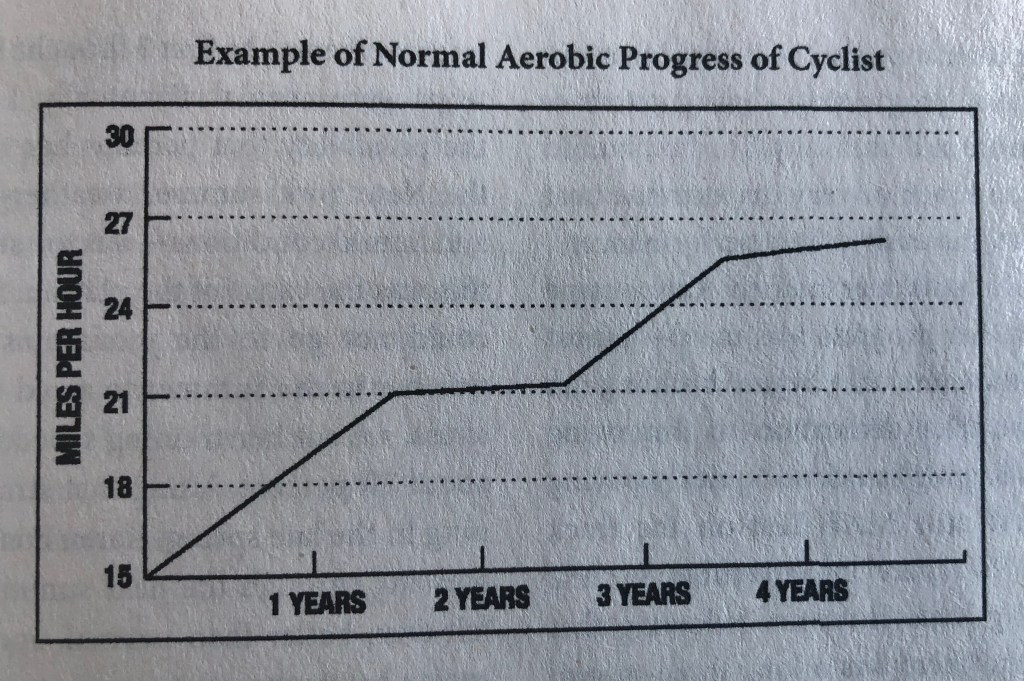
Dr Maffetone also talks a lot about overtraining. Recovery time is key and so over the weeks I’ve alternated cycle training days with swimming days. With the new ‘Y’ in Gloucester just a couple of miles from our house it makes for a workable routine. One that I’ll probably continue when I’m back after the ride. Here’s something worth aiming for…
THE ROUTE:
Cycle touring is more popular in Europe than here in the US, at least here on the East Coast. Over the past 30 or 40 years there’s been an explosion of interest in the sport on European bikeways. Maybe this is because Europeans have traditionally had a more enlightened attitude to cycling but it is their nearness to such a wide range of environments conducive to cycling that has mattered most. That and the appearance of dedicated bikeways. Also, bike-packing has combined traditional bike touring with gravel biking and mountain biking to expand this interest.
Cycle touring on all the bikeways in Europe could take a lifetime! To give you an idea of why I say that, I’m showing here just a couple of stats: 17…the number of numbered routes in the European long-distance cycling network, known in Europe as ‘Eurovelo’; 50,000 kms…the total distance of marked trails and roadways which criss-cross the whole continent east to west, north to south following a wide range of environments – coastlines, mountain ridges, river valleys, plateaus, etc.
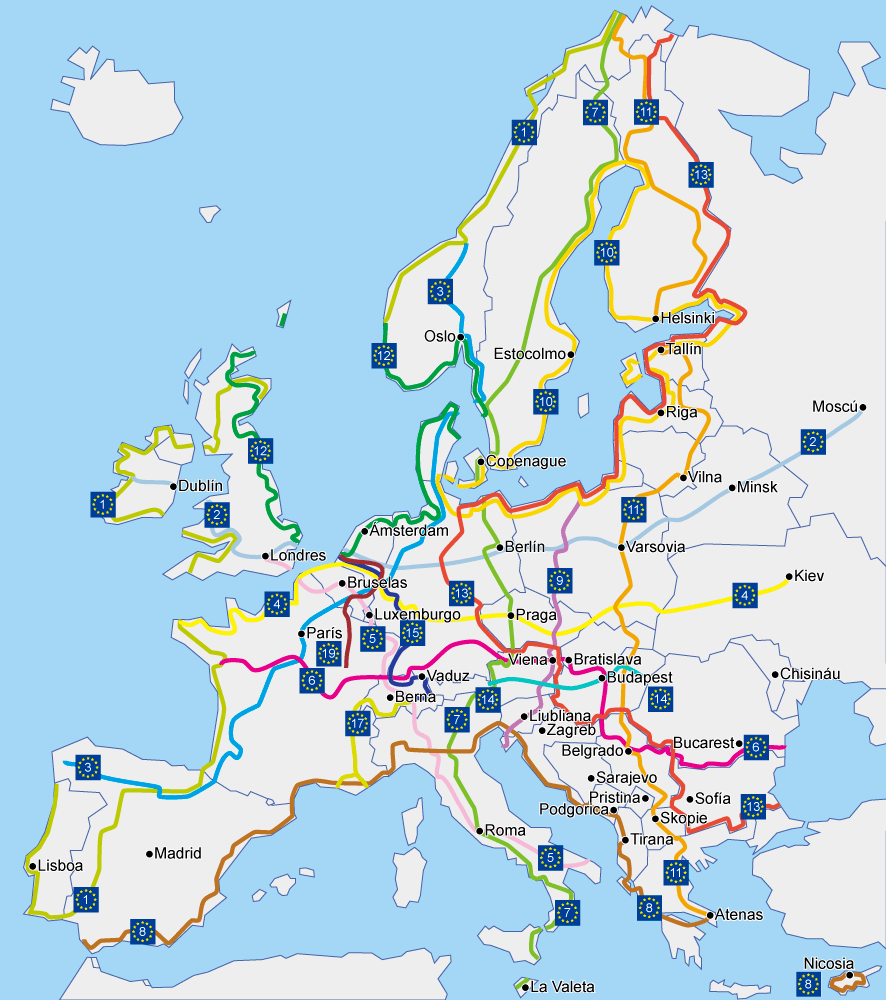
The Eurovelo Routes
My first ride, on The Rhine Route, or EuroVelo 15, follows the course of the River Rhine from one of its sources at Lake Toma in the Swiss Alps to its estuary at Rotterdam for a distance close to 1200 kms. The cycle route begins at an elevation of approximately 4700 feet above sea level and proceeds east then west through Switzerland and Austria and northwards through Germany and France on its way to The Netherlands where it turns northwest towards Rotterdam at the North Sea. My first idea was to bike from ‘the mouth to the source’ – that had some symbolism to it. After some time I came to my senses and reckoned instead on going downstream. Why do things the hard way?
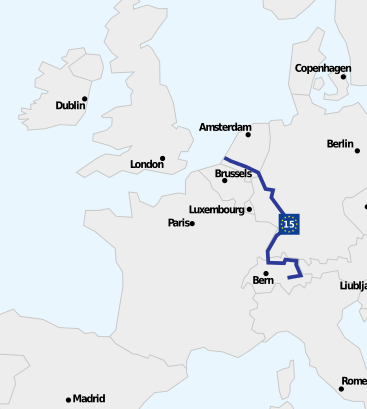
Eurovelo 15 -The Rhine Route
I’ll be flying to Zurich and picking up my rebuilt Breezer in Basel at the Walti Schoch bikeshop (thanks, Walti!) after its been been boxed and shipped from the folks at Riverside Cycle in Manchester-by-the-Sea here in Massachusetts. BikeFlights is the shipping agent who specialize in, yes, shipping bikes all over the world. Then by train with the bike from Basel to Oberalpass for the first night before the start of the ride. Incidentally, I’ve learned from experience that a couple of days downtime is the best antidote for jetlag so I’ll be staying over for 2 nights with Ian, Fanny and Emilia in Basel before leaving for Oberalpass in the Swiss Alps. Many thanks, Ian & Fanny!
Hopefully, many cycling days later, I’ll be able to meet up with my kayaking friends, Axel and Gisela, in Cologne and also with my friends from the old Elsevier days, Ralph and Cheryl, in Amsterdam at the end of the ride. In a sense I will be returning to my roots…shown here is yours truly outside our apartment on Manegestraat, Amsterdam in 1975. Note the denim suit with bell bottoms and wide lapels. Yes, it was the 70s! The bike was a classic Amsterdammer which I bought at an auction for 60 guilders – I calculate that to be approximately $100 in today’s money. For two years, it was my primary form of transport to and from work at Elsevier.
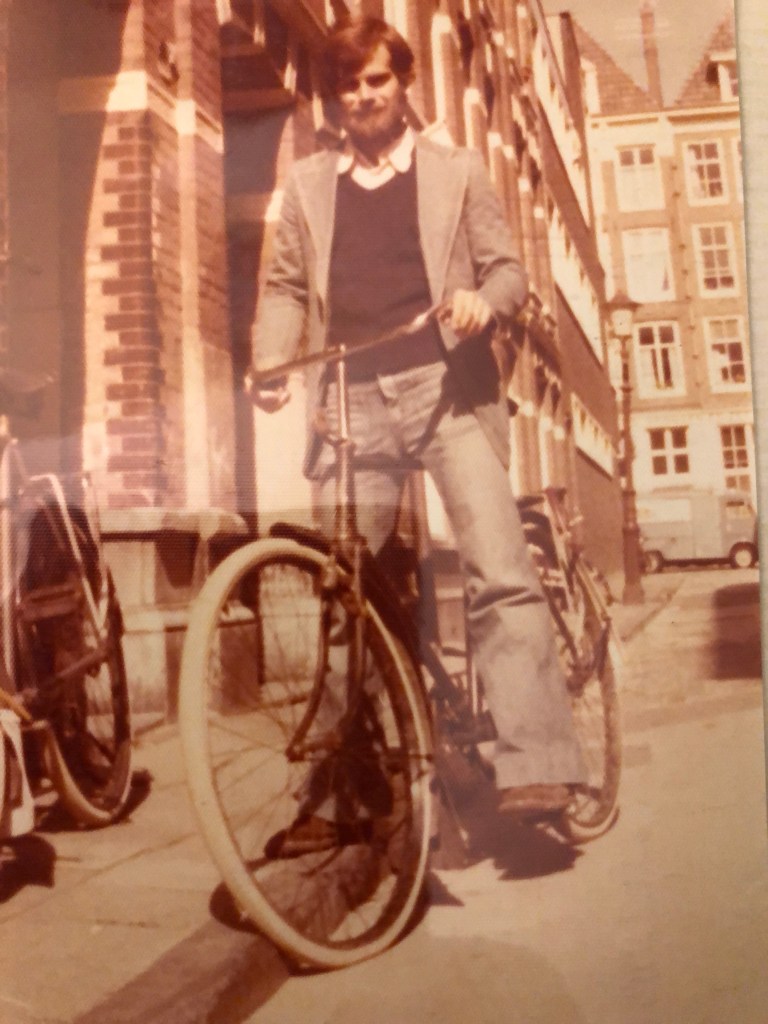
Manegestraat, Amsterdam 1975
My original plan was to do the ride on my Cannondale mountain bike but after some research I realized that the Cannondale not the best bike for the job. It was not a mountain bike that I needed but one that was built specifically for touring, one that could be loaded up with gear and would be sturdy enough to last. Carbon and titanium bike frames (expensive) are built for speed while most mountain bikes have aluminum frames. What was needed was touring bike with a steel frame.
The Rolls Royce of touring bikes is made by a company called Surly of Bloomington, Minnesota but unfortunately Surly bikes were generally not available in 2022 due to supply chain hold ups. When I was looking into manufacturers last Fall, I came across a company called Breezer, one of the original mountain bike manufacturers, now headquartered in Germany and with manufacturing facilities in Taiwan. Breezer also makes well regarded touring bikes. Breezers were also hard to come by but after a nationwide search I located a bike store in Oakland which had a Breezer Doppler of my size which they boxed and shipped to JRA Cycles here in Boston who built the bike.
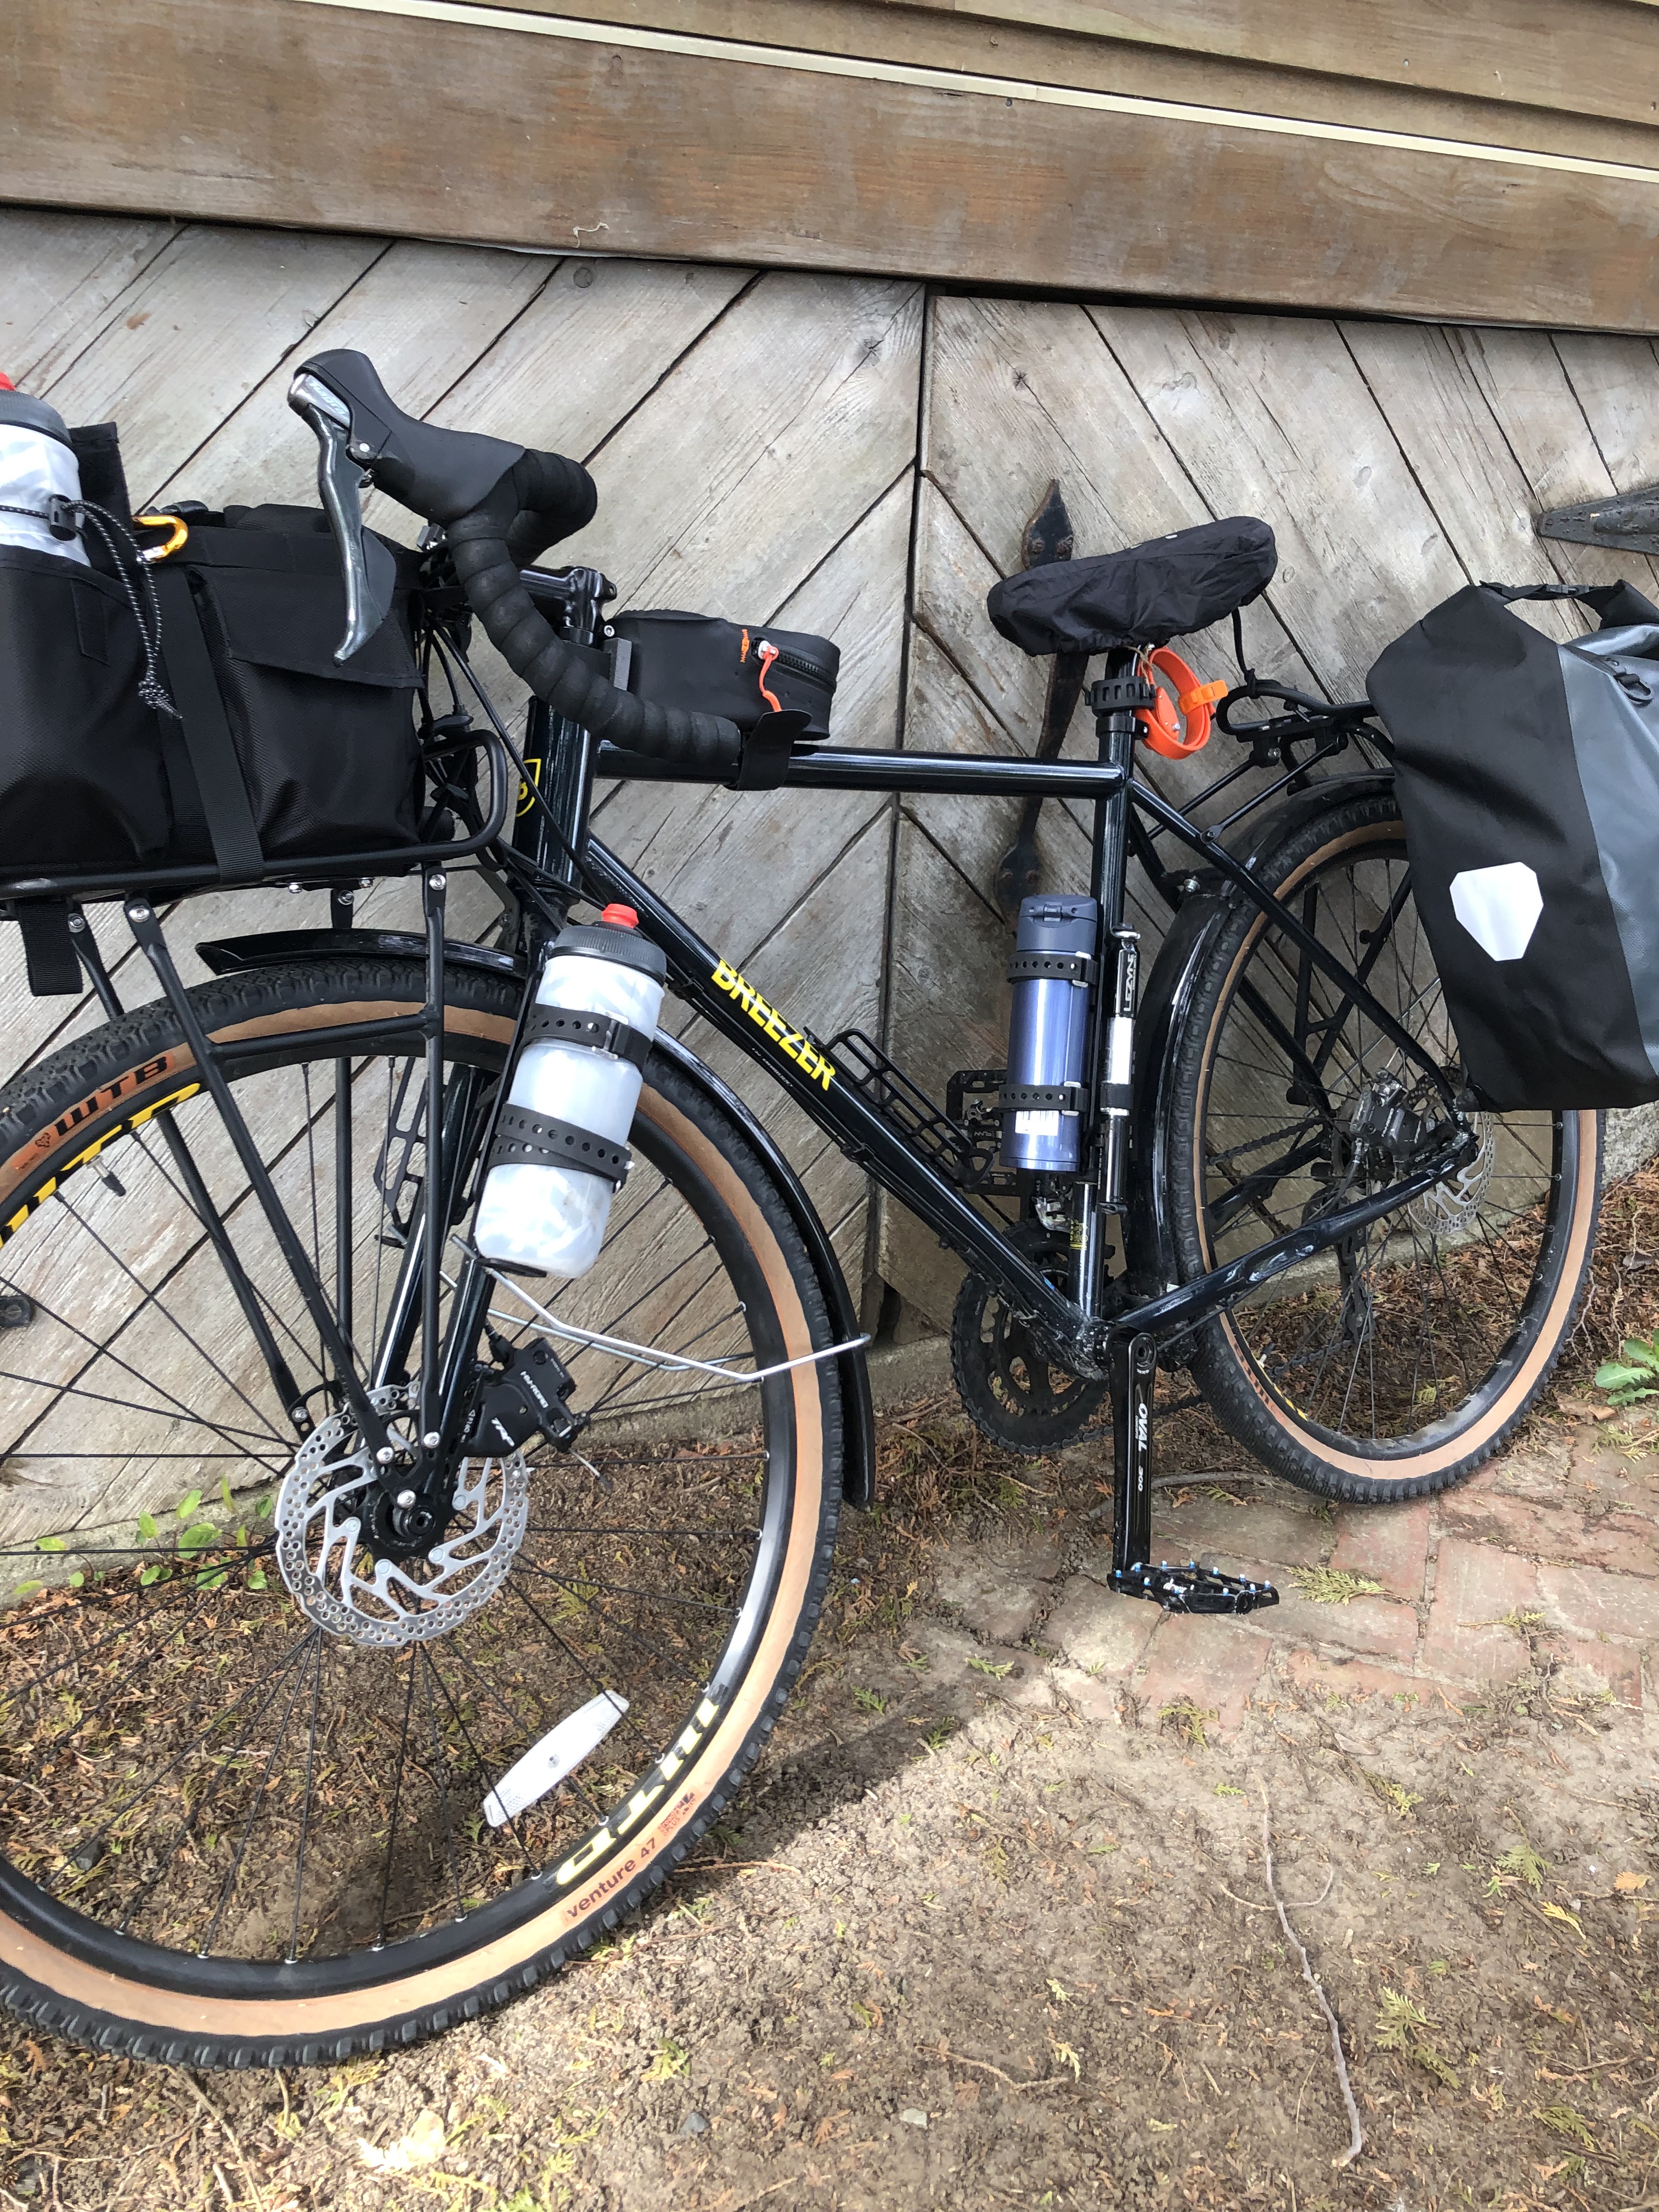
The Breezer Doppler
I’ve made some changes since then – added a rack in the back for rear panniers and a front rack for a medium sized cargo bag, four cargo cages for water bottles and also a small frame bag to carry tools. I’ve splurged for a traditional leather saddle made by Brooks (UK). Brooks saddles are masterpieces, they literally set the gold standard – their designs and materials have barely changed since their first saddles were made in England in 1866!
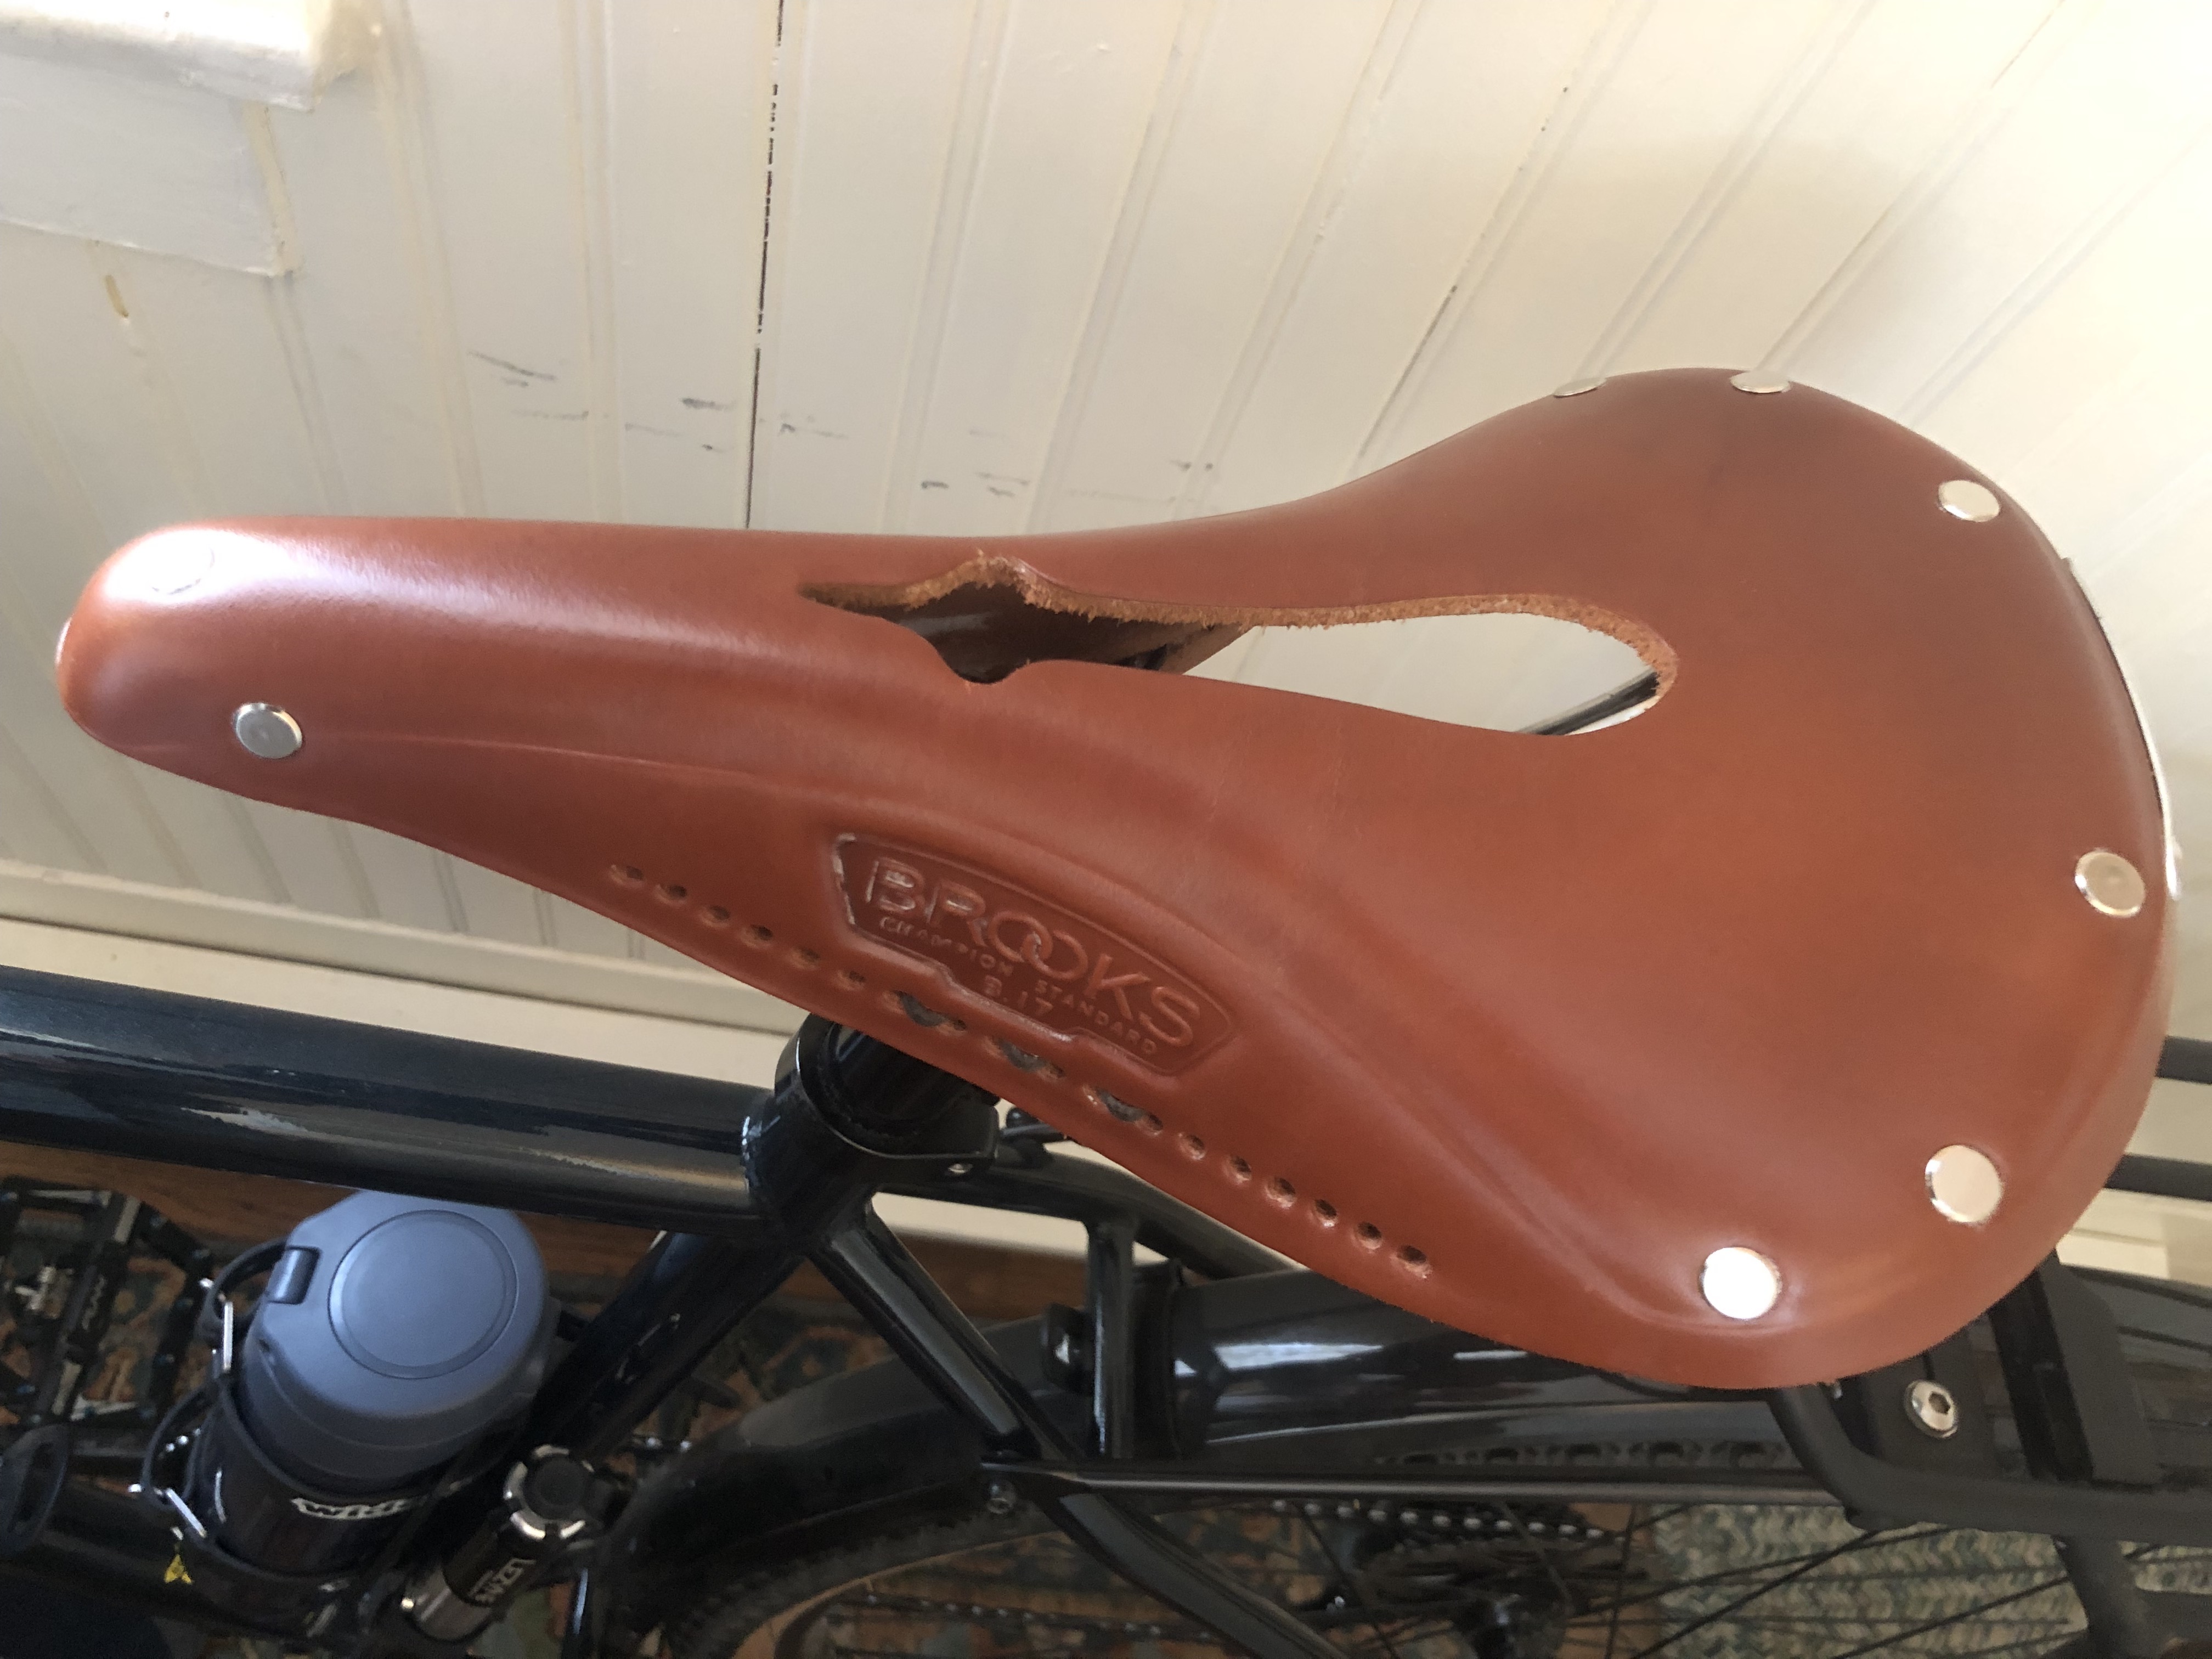
Brooks Saddle
Hearty thanks to Trey, Chris,and Peg at Riverside Cycles here on the North Shore who’ve given me so much help in outfitting the bike and also for their expert recommendations for gear needed for the trip. Thanks too to Eli for the work he’s done on the bike to keep it in good order and for having it safely shipped to Switzerland ready for the first trip down the Rhine.

